Master Minecraft Skin Creation: Pro Tips for Maximum Efficiency [2025]
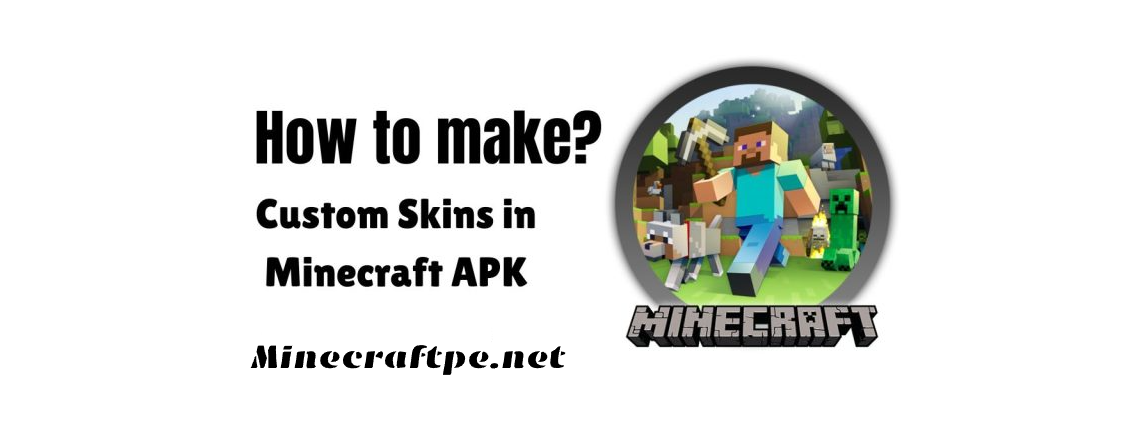
Minecraft is a popular sandbox game with numerous features, including fantastic skin customization options. In the game, you have a character, or several characters, which represent your creativity throughout your Minecraft journey. It’s important to keep your characters looking great. Below, we’ll discuss helpful tips for creating unique, creative skins for your characters.
Steps to Make Custom Skins in Minecraft
Creating custom skins is an enjoyable and fun process that will keep you engaged.
1. Considering Custom Size
Skin sizes vary. You can customize the size to your preference, and setting a custom size for your character according to your needs is important.
2. Use Skin Editor
Use a top-tier skin editor to enhance your editing process. Here are some recommended options:
1: Skindex: This online editor is an excellent choice if you have a stable internet connection and want to leverage its community features.
2: Nova Skins: With its advanced skill requirements, this editor is well-suited for creating 3D previews.
3: Blockbench: This option is ideal for creating customized structures and offers the ability to create custom skins with layers.
4: Minecraft Marketplace: If you use the Minecraft Bedrock Edition, the Minecraft application provides its own skin creator. Although simpler to use than local editors, it has certain limitations.
3. Pick up a Template
Templates are pre-designed skin sketches offered by Minecraft Bedrock Edition. Select a skin template and customize it. It is important to choose your character’s gender before choosing a template.
4. Sketch & Finalize the Design
Sketching your character design on graph paper before editing is a helpful practice. This helps you organize your ideas and identify elements for removal. Choose a fitting shape for your character based on themes like fantasy, animals, or pop culture. Finally, ensure symmetry for a balanced design.
5. Layers Editing
Layer editing simplifies the editing process. It allows you to add skins, textures, and accessories. Layer editing allows you to edit shadows, highlights, and patterns.
6. Color Optimization
Choosing colors is important and should be done with care. Use a tool like “Cooler” for accurate and smooth color palettes.
Select one or two main colors for your character.
Use shading to create 3D shapes. Make edges darker and the center lighter.
7. Face & Hair
The face and hair add charm and beauty to your character. Edit and customize them carefully to create a unique look.
8. Mirror Mode & 3D Preview
Mirroring mode helps you cut your character into pieces and design it better.
The 3D view helps you identify customization mistakes. Preview your character in the 3D viewer and refine the design carefully.
9. Shortcuts
Properly utilizing shortcuts streamlines your design process, enhancing its ease and authenticity. During skin editing, leverage shortcuts like copy and paste. Additionally, explore the various specialized tools accessible through shortcuts. These techniques simplify your work, making it more efficient and cost-effective.
Additional Tips
Ending Thoughts
Customizing your Minecraft character is essential. The discussed steps can help you customize new or existing skins. Use tricks to make your character more beautiful and unique. Skin customization is important, so make smart choices to enhance your character’s look.